Showing posts with label Art. Show all posts

Sunday, February 28, 2021

The Mosaic Headboard


Ever since I don't know when, I've saved every piece of broken pottery, every chipped dish, every earring missing its mate, every bracelet no longer wearable due to its stretched out elastic. 

Packed away in paper bags and boxed up, stored in the basement, garage or attic, I always thought I would do something with those broken pieces.  Though no artist, and certainly not the artistic type, I had visions of creating a backsplash for my kitchen of all those beautiful fragments of things I loved but no longer had.

This thought stayed with me for years.  I wondered how I could do it, what mortar or grout would I use?  I imagined I should make this backsplash on plywood so if ever I moved, the backsplash could come with me. But I never got the project off the ground and two decades later I did move and I moved all that broken stuff with me.  

In my new home there was barely a backsplash and I was renting, so that option wouldn't work.  I considered making a table but soon realized that was impractical...I had no room for another table and it would be very heavy.  I tucked the mosaic project way in the back of my mind and there it stayed.
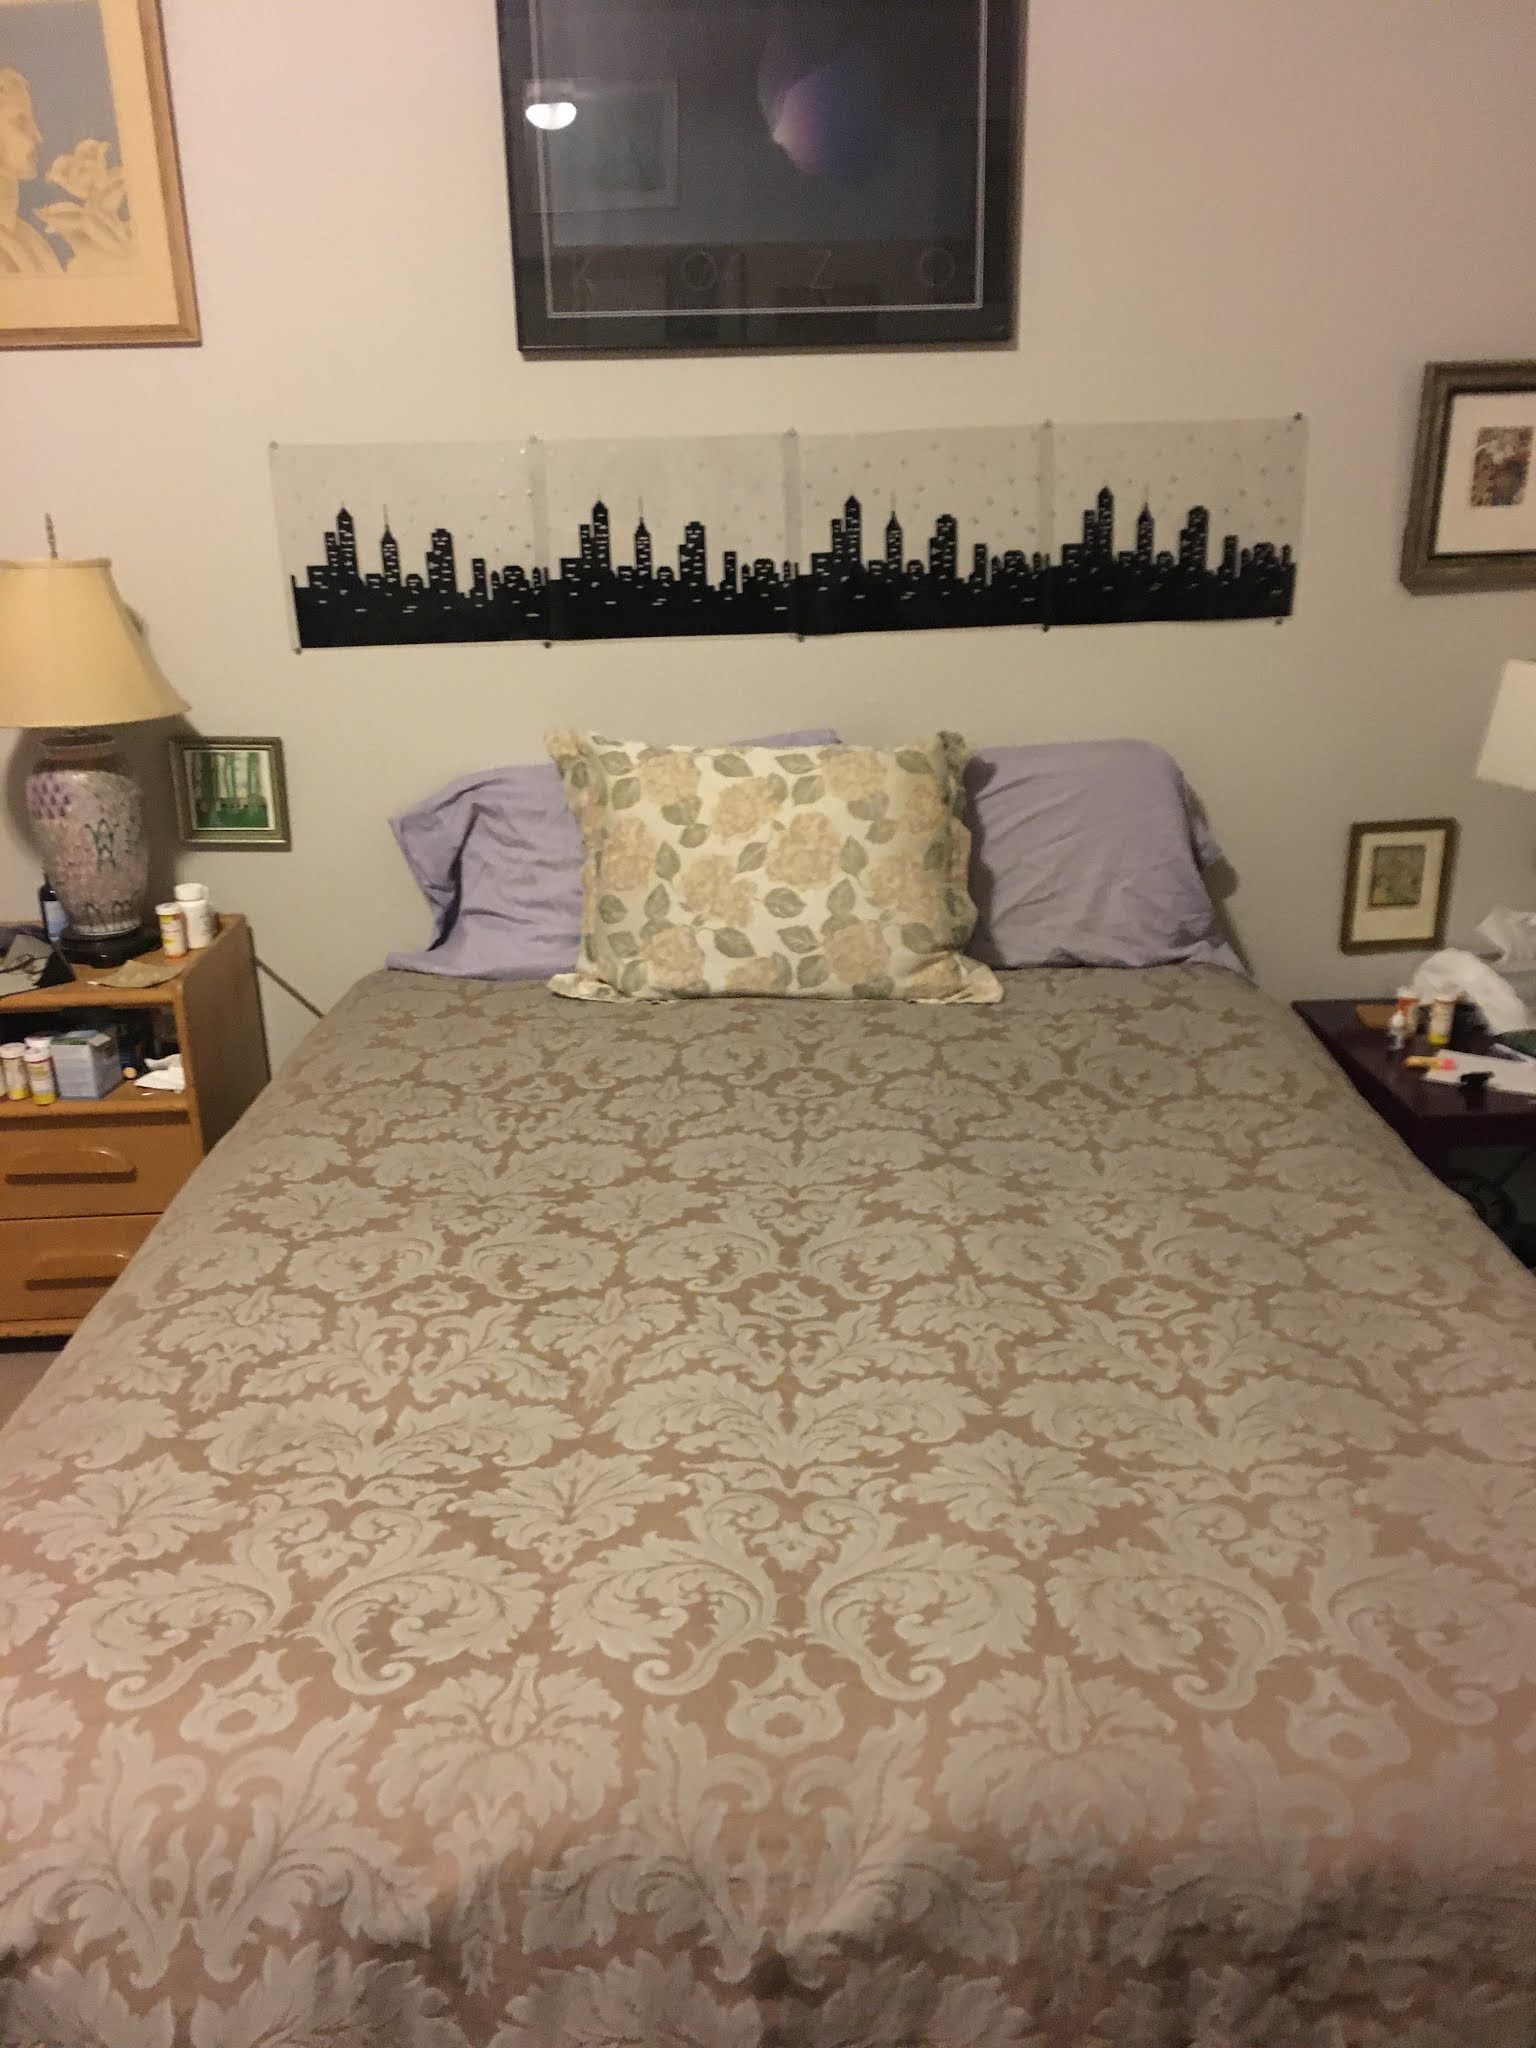
A set of plastic placemats
were doing headboard duty.
Then, I was scheduled to have knee replacement surgery and knew that recovery would be a long haul and wasn't that a good time to tackle this project?  So in earnest, I revisited the mosaic project.

Suddenly, it came to me  a headboard.  Why not make a mosaic headboard?  I had a platform bed and no headboard.   I had the room for it and how hard could that be?  It seemed pretty straightforward and so, measurements in hand, I began to look for a headboard. Easily found online, at about $100 (plus shipping) I knew that was not what I was willing to pay.  Perhaps $20-30, but not more.  Regularly I searched in all my favorite thrift stores.  The headboards with legs  which I thought would be easiest  proved problematic due to the fit and the difficulty in attaching it to either the wall or the platform.

I looked and I looked and I looked without finding.  Thrift store after thrift store.  All my favorite places I thought would provide what I was looking for, but no.  When I'd almost given up, I found something that seemed pretty perfect.  


A simple panel that was brown
  a good match with most of the furniture in the room  with some small inset detailing that would help me frame or contain the mosaic.  Though it was only pressboard and had a few bashes around the edges, it seemed perfect and it was only $3! SOLD!

And then the pandemic hit.

What I imagined would last a week or two became a month and then more.  Not only was I sequestered but slowly became completely panicked about the knee surgery.  Surely this was not going to be a time to go in to a hospital and then what?  Who would come tto help me?  Not friends.  Did I want a stream of healthcare workers in my home who might also be serving those with Covid?  I rapidly shelved the idea of the knee and thought more about the headboard.  I decided to dig in.

It required opening the dining room table to its capacity.  I was primed to get prepped and started.  With excited anticipation I opened the box containing all the treasures for this project...and they were utterly FILTHY!  Years of being stowed in basements and attics had covered the ceramics in dust and dirt and dead bugs.  UGH!  I would actually have to wash it all before doing anything else. And so I did.  Immersed in one sink of hot soapy water and then rinsed in another and laid out to dry.  PHEW! Now I was ready to move on!

It wasn't going to be that easy.

I quickly realized that the broken pieces were going to have to be broken more.  They weren't the size I wanted or they were curved and jagged and well, not functional for this project.  So I went online and looked at YouTube and realized I was going to have to cut those pieces which would require a tile cutter and special gloves and goggles and a hammer.  Good grief.  

A neighbor actually had tile cutters I could borrow.  I bought the special gloves, found my hammer and a deep box I could smash things in.  I felt I'd met the challenge and could move on.  I separated all that pottery into like colored groupings. I began to see that this was really going to happen and now I needed the glue.

This is but a fraction of what I had. Unfortunately, I didn't take a photo of the three-tiered rolling cart 
that was loaded with the 25 lbs of sorted pieces in multiple color ranges for my project.

The glue...simple enough, right?  I knew I needed clear because I wasn't sure about grouting the entire thing. In my mind's eye I didn't picture it as a fitted-together mosaic, to me the pieces were sort of floating.  I knew I could decide later but I definitely needed a clear adhesive.  I steeled myself, mask and gloves (it was still early in the pandemic) and I went to Home Depot.  Overwhelmed by the many choices and not really able to distinguish between them, I asked for help.   The sales assistant seemed less sure than I was but eventually handed me a tube of an adhesive that said it was a clear sealant.  Seemed good to me.

I was ready. Everything was in place.  Except for one really crucial element.  How was this going to be attached to the wall?  If it was going to be covered in pottery that might not work to screw it in.  It was going to be heavy and I certainly didn't want it to come out of the wall and crush my skull while sleeping.  And since this home was a rental, I needed to minimize damage to the wall...back to the internet to search where I found my solution: the elegant French cleat.

DIY French Cleat Floating Shelves | merrypad
and what one-half of it looks like.[Those are NOT my nails.]

French cleat - Coastal Enterprises
The premise of this mechanism... 
A what? you ask? A French cleat. Used to hang heavy mirrors.  A French cleat that could handle 200 lbs and could easily be attached to the wall...or so I thought.  

Clearly, the cleat would have to be attached to the back of the headboard BEFORE any mosaic work could begin. To attach that cleat I'd need to measure the correct alignment, find the studs in the wall, drill it both into the wall and the back of the headboard, requiring a stud finder and a drill and ultimately, a 40-minute FaceTime consultation with my daughter's friend Brantley in Brooklyn (THANK YOU Brantley) who patiently, patiently, patiently helped me understand the French cleat (I was not realizing how to connect the two pieces) and how to get it where I needed it to be...SIGH.

Finally.  With my daughter's help, the cleat was attached to the wall and headboard.  I could begin the painstaking work of arranging the pieces, breaking them, cutting them, chipping them into the shapes I wanted.  Over 200 pieces painstakingly selected and placed in a pleasing way.  It began to resemble what I imagined it to be.  I realized the edges would need some finishing so I found the scrap of someone's unused kitchen backsplash (87 cents)that would provide varying rectangles in subtle tans and browns that would perfectly complement the headboard and fit exactly. [I later found another backsplash remnant that had bigger pieces and would make it all go much faster (see below)  but these were a mathematical conundrum that my friend Susan's husband, Howard had to calculate how many of which sizes would most closely match the lengths of the sides as I couldn't cut these thick blocks to fit.  Another mini-nightmare. THANK YOU Howard.]
So all was in place.  I had the way to hang, the glue, the pieces in place (including lots of jewelry from my friend that would adorn the pottery  thank you Laura !] the finishing touches for the edges.  I was happy with how it all had come together. And for some reason, each time I approached that headboard to start gluing things in place, I stopped.  I did not even open the adhesive to begin. I walked by it multiple times a day staring at the design and still not able to move forward.  It sat there for months.  It went on so long that more than one friend pressed me to figure out why I couldn't finish this thing and get it done.

Why couldn't I? I asked my therapist over Zoom.

"Well how about you try to glue something down right now, while we're in session?" she suggested helpfully.

Wow, I thought as I moved my laptop and arranged it on the table and opened the glue and actually lifted a piece, squeezed a tab of glue and placed it on top.  I was shocked at how easy it was and moved on to the next and the next and then suddenly, with absolutely no warning, I started to cry.  Sob in fact, and slumped down on a dining room chair and could not stop crying.

Soothingly, my therapist (a real gem) said "What's going on?  What are you feeling?" and though it took a bit it came to me with an overwhelming sadness.

"All of these pieces, the everyday dishes, the favorite vase that broke in the move, my sister and sister-in-law's shattered things, are the broken pieces of my past, and if I glue them down, it's admitting that there's no fixing them.  There's no going back. They'll never be whole again," I jerkingly sobbed.

"Oh, but look what you're doing with those pieces of your past; you're making something beautiful of them."  she wisely shared.

Deep breath.

That revelation broke the dam and after a day or two I thought, "I'm ready now."  There was just one problem:  those three pieces were not stuck!  You could move them and wiggle them  what the hell???

Turns out that the "adhesive sealant" was actually more of a clear grout and not a glue.  Back to the drawing board and to the local, been-here-in-town-for-decades, hardware store where I was steered to a much smaller, way more expensive tube of a multi-grip glue.  Yes, yes, yes.  This one worked and piece by piece I attached over 200 pieces to that board.  I did it while listening to lectures or touring art museums on Zoom.  I got it done and then moved on to the edges. I knew I'd have to wait to add the crowning touches on the top after the board was hung.  I called my son to come help me move this monstrousity and get the damn thing up on the wall, which he did.  HOORAY!!!

It was too low.

It was level but it just didn't look its best.  It needed to come up about eight inches but my son needed to go and I was drained from all this cumulative effort.  We decided to revisit this another time.  SIGH.  Still, I could enjoy the fruits of this tortuous labor.  I could admire the breadth of it and all the beautiful shards that were there.  And I could try it out to see if in the night, a flung arm would get scraped or bleed from contact with all those ungrouted sharp edges EVERYWHERE.  But it didn't hurt me, thank goodness.  It was unconventional and you wouldn't exactly easily sit up in bed against it without proper padding but I'm not one to read in bed.  I began to glue on tiny fragments from the earrings, bracelet charms, necklace beads, tie tacks and pins I had in abundance.  The figurine head (another entire story of its own) fit perfectly, though I had to sit holding her for 40 minutes until I was certain she was fully in place.  I still had the little ceramic Chinese astrological zodiac figures to glue on top but those could wait until we removed and replaced the board at the correct height.


I'd forgotten to share that the "Lead From The Heart" and the little black heart  had to be taken to a friend of my ex
to cut with a tile cutter that spun in water
  quite an undertaking.  Thank you Gene!

It was done.  Rehung at the proper height, eventually with the tiny Chinese zodiac animals adorning the top, I could finally, finally admire the fruits of my less than $20, many, many hours, and lifetime of emotions labor and investment.  It was a thing of beauty and a smile emerged each time I walked into my bedroom and gazed upon all that I had done.

This pandemic pushed me into this work that was completely out of my comfort zone in more ways than one but I had persevered and made something that truly gave me happiness.  I could've told this more simply, spared you many of the agonizing details, but the story of this headboard had to be told in its entirety to appreciate the journey it required and represented.  I hope in your time of Covid you have found a way to make something of beauty out of what's broken in your lives.  

I don't know if this will work but I tried making a video showing the completed work.


Saturday, October 10, 2015

Hidden Treasures

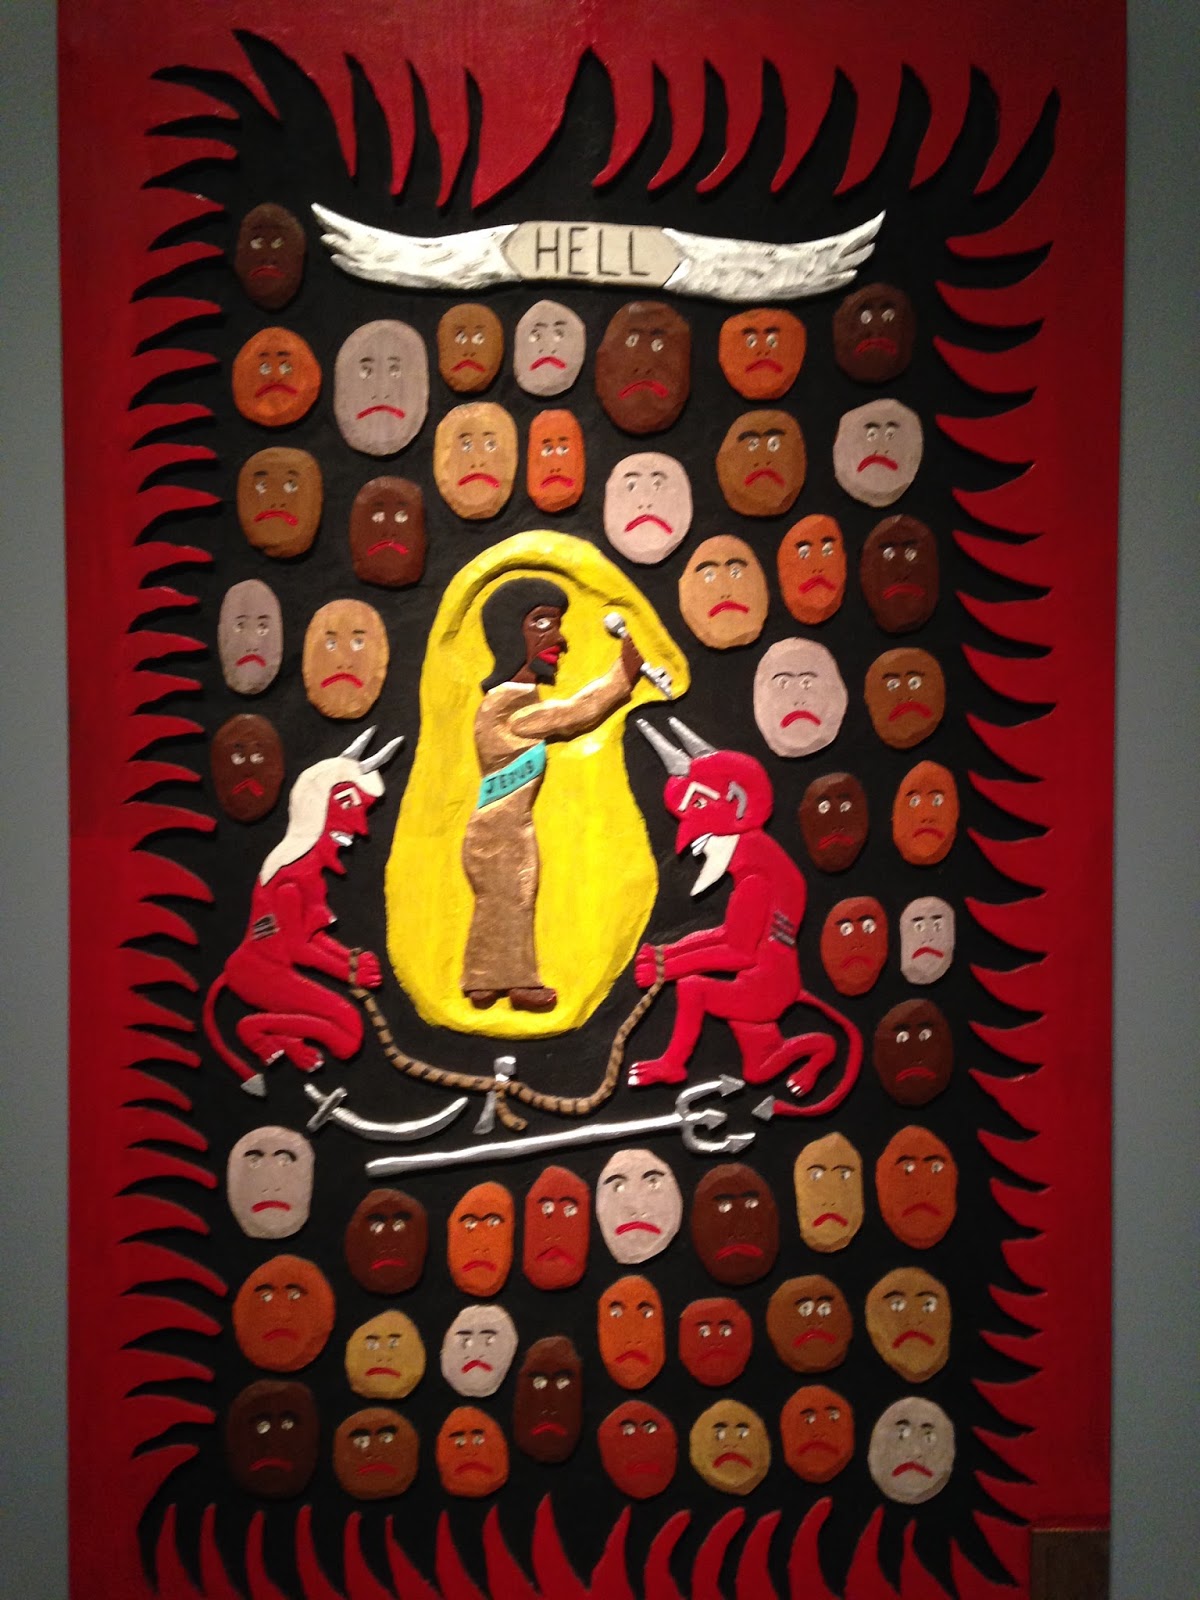
Speaking of HELL (well, the hellish nightmares that I wrote about in my last post)... 

I was fortunate to see this heavenly exhibit of folk art at the Smithsonian's American Art Museum where I saw different works by familiar folk artists and by artists whose names I'd not yet come across in my explorations of self-taught art.

I don't remember previously seeing the work of Leroy Almon, Sr (pictured here) but certainly was happy 


                              to see a piece by Mose Tolliver...


      and a group of paintings by the defies-MY-view-of-an-ordinary-visionary — THE Howard Finster...


Below are a few Howard Finsters I saw at the Ogden Museum of Southern Art July 2013...


The Reverend Finster was in a universe of his own and he chose to show us his universe through his art.  
This is the same for all the self-taught artists who strive to create — despite hardship, socio-economic conditions, geographic place, emotional state.  


 Bottlecap Giraffe

Unidentified Artist

Marla...Irving Dominick

Tiger, Baboon, and Gorilla by Felix (Felipe) Archuleta


Untitled (Coyote and Turtle)
Unidentified Artist


Just like all the others — this museum visit enriched and filled me with the talent and creativity of those individuals who are our hidden treasures.  

Wednesday, September 16, 2015

The Ukrainian Museum — From Dragoons to Donetsk

For many years The Ukrainian Museum  in Manhattan had been on my list to visit but one thing or another got in the way.  This trip there was an exhibit I really had to see Staging the Ukrainian Avant-Garde of the 1910s and 1920s 

Art Deco as always been one of my favorite periods of design but I wasn’t prepared to be dazzled by the costume designs created for the stage by these Ukrainian masters who were cutting edge in the 1910s and 20s.  Drawing elaborate and stark costumes for the ballet, opera, and theatre I saw designs that could be in fashion (haute couture fashion that is) today.

Frustratingly no photos were allowed, so I am reduced to what I can share from a few images captured online or in the gift shop…but I hope you get a flavor for the whimsy, geometric boldness, fanciful flourish of these outstanding creations.  One set of drawings was actually a collage of the costumes with the fabrics….and I loved that virtually all of the designers drew their character's shoes with quaint upturned toes — think the Munchkins in The Wizard of Oz!

Fortunately this exhibit has been extended til October 14, so if you’re in New York, hurry to see it. [Check their website for hours, only open Wednesday to Sunday.]

Also fortunately were the other exhibits as well as the really elegant building where the museum has been housed for the past ten years.  A simple sweeping staircase takes you to the rather traditional displays of what one thinks of when they think Ukrainian…pysankas (painted eggs) and lovely, ornately floral images of men and women in their woods and gardens.  I found myself wondering why their palette is predominantly reds, oranges, greens and yellows…very little blue and never purples that I can recall.


Below see detail of this painting...the delicacy of a dandelion puff...


In the basement one can see a small display of traditional wooden instruments used in the fields or in the home and then a  room filled with The Tales and Myths of Yohanan Petrovsky-Shtern.These fascinating picturesque images  made me think how fun they might be hung in a child’s room, but on closer inspection (and after reading the placards) this artwork showed/had some menacing features — Russian soldiers, evil disguised as a large alligator, and pogroms in the distance.

Sadly, this exhibit was reinforced by the present-day atrocities menacing the Ukraine today.  A short video presentation tells the story of Donetsk, their ongoing revolution against Russian control along with a room full of artifacts from this present-day war — clearly heartbreaking to those of Ukrainian descent.

To relieve the heaviness of war-torn strife, step across the hall to the small but charming gift shop before leaving this hidden gem of a museum — you can buy your very own pysanka, unusual and attractive chunky necklaces, beautiful notecards by famed Ukrainian-American artist Jacques Hnizdovsky, and even original art (just one example below).  


I couldn’t leave without buying a small notebook with these stickers — a reminder of dragoon-like-Deco-designs.


To make this visit a complete experience, head for The Ukrainian Home Restaurant just blocks away for a taste of slightly sweet, homemade white challah bread and a plateful of lovely and delicious cheese and potato pierogies adorned with fried onions and luscious sour cream.  

Is your mouth watering?

Saturday, September 5, 2015

Chairs


I have a thing about CHAIRS.  
but I do find myself intrigued with chairs.  

All kinds of practical and impractical chairs.  

I'm going to share some of my better finds.

This rather austere chair was a 
one-of-a-kind-take-a-seat chair 
I found at the American Folk Art Museum
Doesn't look very comfortable...does it?


This very darling and very cool child's red chair

was sitting pretty at the Cooper-Hewitt Museum.


Also at the Cooper-Hewitt, one can see this red spaghetti extravaganza, 


that contrasts softly and sharply with the two below  found at the 
Museum of Arts and Design...


Getting off CHAIRS for the moment...
I also saw displayed some pretty spectacular and you could say unusual high-heeled shoes 


These shoes were NOT made for walkin'.


Now back to...


chairs here,
chairs there,
CHAIRS, CHAIRS everywhere.
These deconstructed chairs were ensconced at the Museo del Barrio
 — definitely NOT for sitting.


This splendiferous green & white leather chair 
(at a Housing Works Thrift Shop) 
was 
most assuredly 
made for sitting  
some real cushy seating.


Not cushy at all were these utilitarian and slightly organic seats  awaiting one's tired body 
after an afternoon of walking, walking, walking 
all over Italy.  
Time to take a seat.


Also outdoors 

(but right here in America), 
available for your seating pleasure,


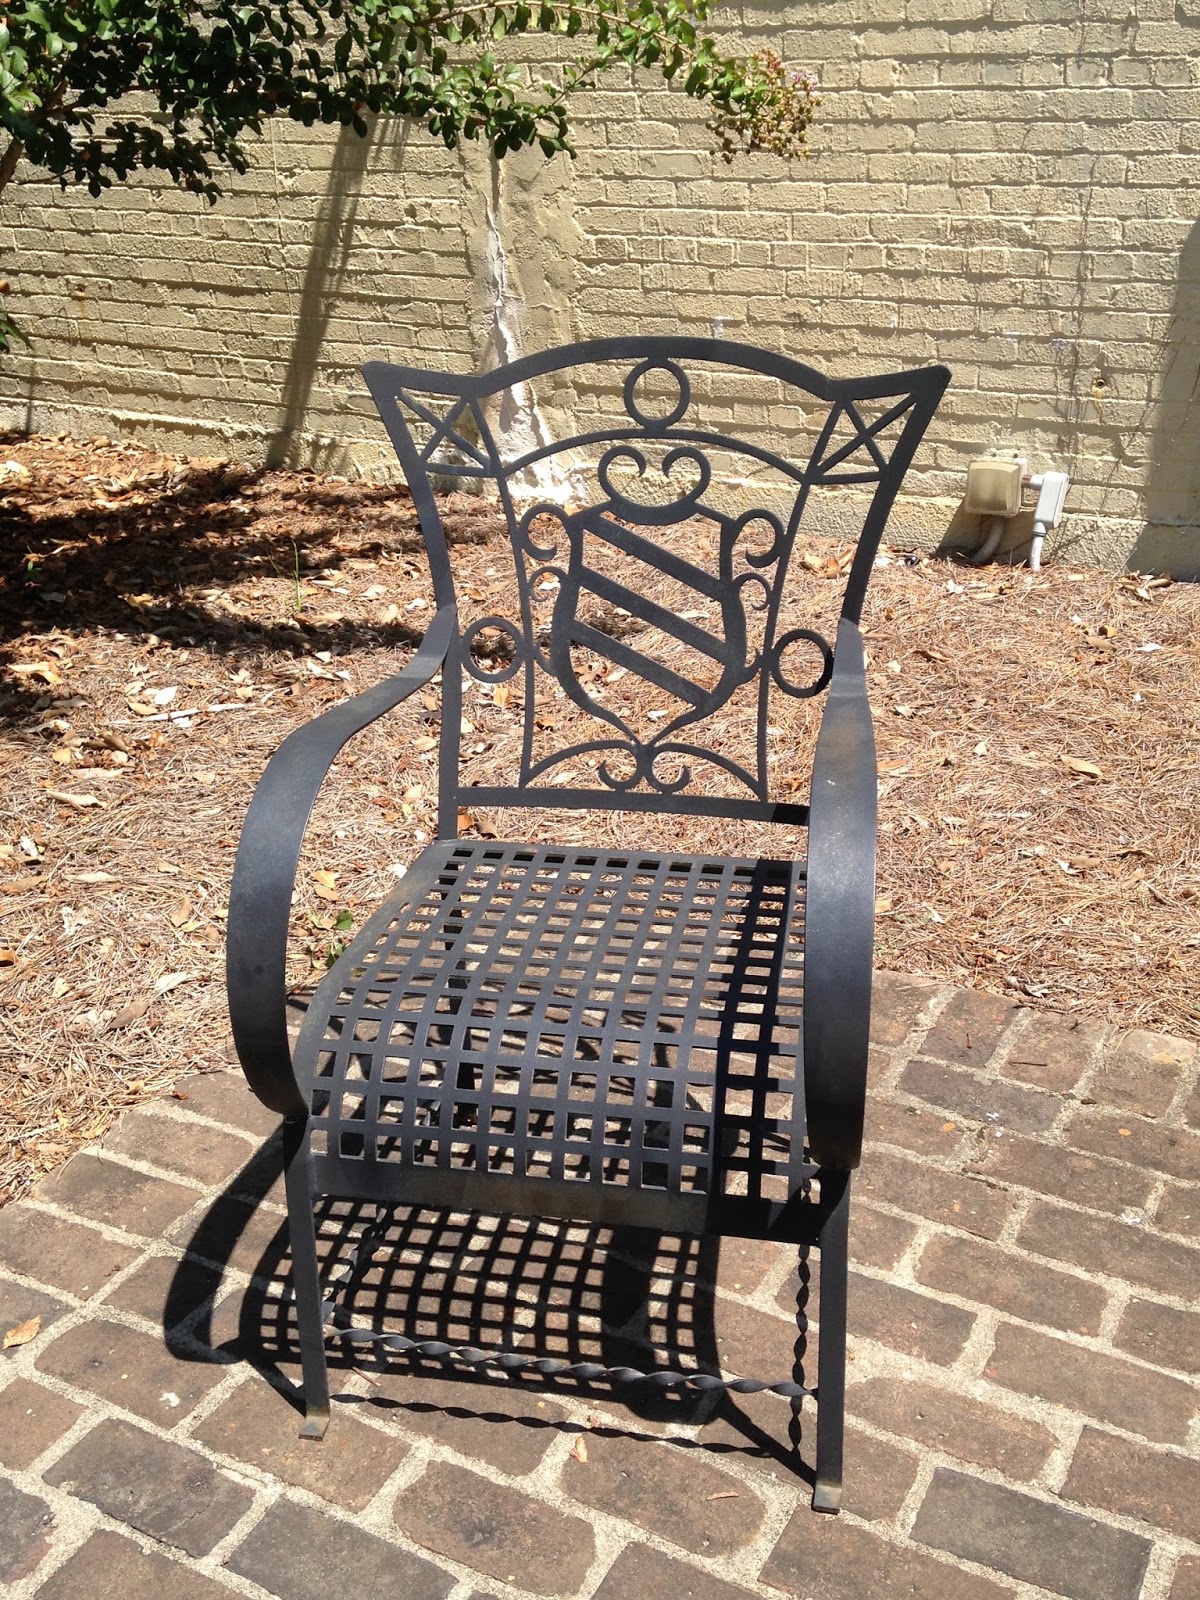
this modern-day regal chair appeared 
on my recent visit to Brookgreen Gardens...


And though this art installation isn't constructed of chairs...
they do count as "seating"  arranged in a most unusual way...
thanks to Ai Wei Wei!


But one of my most favorite chairs  
not in any museum or garden or made by anyone famous  
is a chair I found on the sidewalk in Manhattan, 
tossed out by someone who clearly didn't appreciate the fine curved lines of this beauty.  


I've covered the seat cushion more than once and as you can see, 
it's overdue to be covered again but this chair 
(which I painted teal to match my kitchen when the kids were very small) 
this chair is one you have to sit in 
to truly appreciate its simple but satisfying design...


Even better, 
this chair, 

this find I found 
in the TRASH,
came from afar.


I hope there's a favorite chair within sight of YOU.

If there is, please share your chair with me.